How can I restore old photos using AI? A step‑by‑step guide
How can I restore old photos using AI? Scan at 600 dpi, keep a master copy, repair and sharpen with MyHeritage or Gemini, then check faces before you save.
 Written byDr. Alap ZahidReviews And Guides Editor
Why you can trust The AI Future
Our writers research every product from its official pages, independent tests and user reports, link each claim to its source and correct mistakes openly. Unless an article says otherwise, we haven't tested the product hands-on ourselves. Companies can't pay for coverage or see reviews before they're published.
Read our editorial policy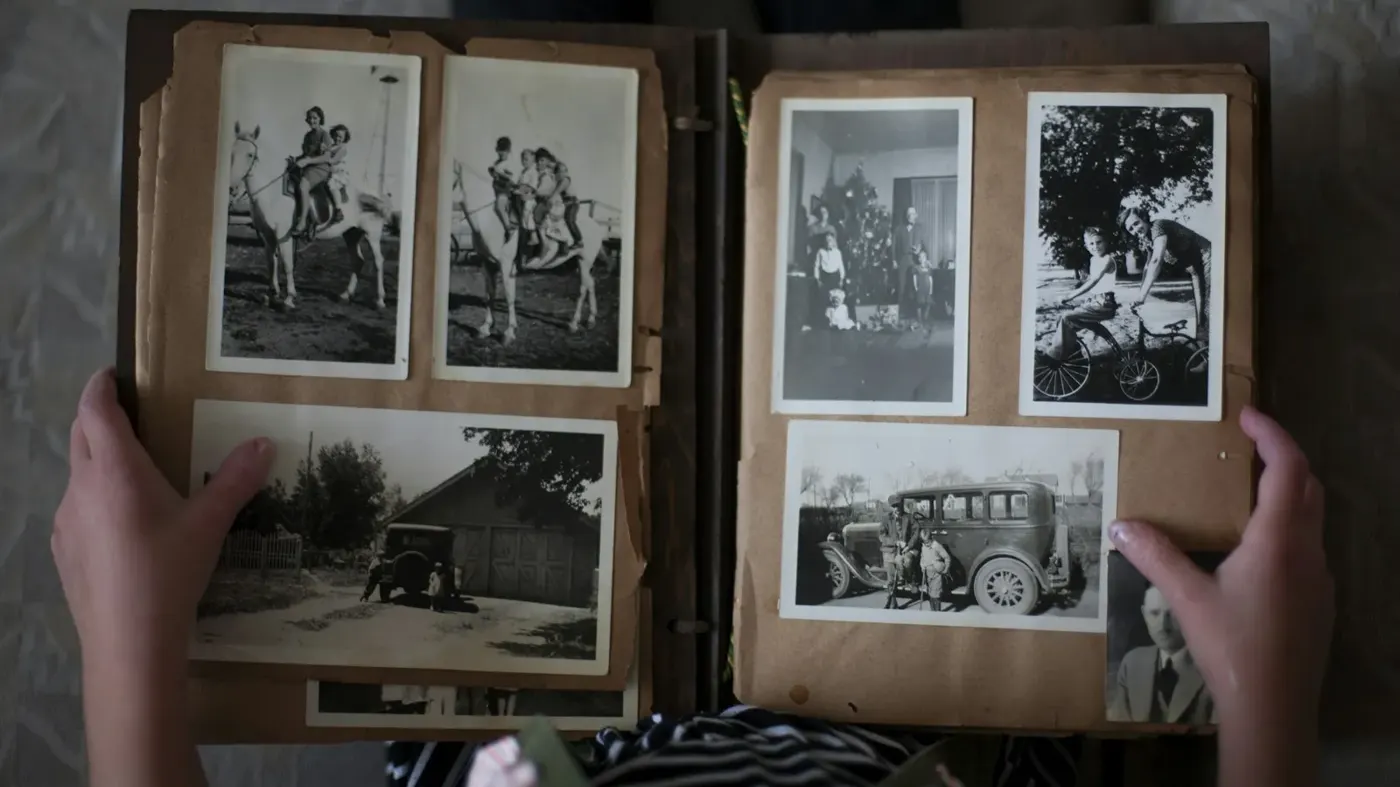
You can restore an old photo with AI in four moves: scan it properly, keep an untouched copy, run it through a repair tool that fixes scratches and sharpens faces, then compare the result with the original before you save it. Free options are good enough for most family snapshots, so you don't need to pay to try AI old photo restoration. By the end of this guide you'll have a cleaned-up, labelled copy of one damaged print in about 20 minutes.
I'll use two main tools. MyHeritage is the easiest for one-click fixes, and the Gemini app is handy when you want to describe the repair in your own words. If you already pay for Photoshop, its Photo Restoration filter is a third route, and I'll mention where it fits. Honestly, I'd start with MyHeritage. It's the one least likely to change who's in the picture.
Things you need before you start
- The original print, slide or negative, plus a soft, dry cloth to dust it off.
- A flatbed scanner, or a phone with Google's free PhotoScan app if you don't own one.
- A free MyHeritage account, a Google account for Gemini, or both.
- About 20 minutes for your first photo. Later ones go faster.
- A folder on your computer called something like "Restored photos".
Watch out: Gemini won't let you edit uploaded images unless you're 18 or over. That's on Google's Gemini image help page, so check this before you plan a family project with younger relatives.
Restoring an old photo with AI, step by step
Step 1: Scan the photo at the right resolution
Clean the scanner glass first. The Library of Congress suggests wiping it with a lint-free cloth dampened with water, sprayed onto the cloth and not the glass, then dusting the print with a dry anti-static cloth (its scanning basics walk through this).
Set the resolution next. Its guide to scanning personal collections says photos you might enlarge to 8 x 10 inches or bigger can be scanned at 400 or 600 dpi, and that anything above 600 may be unnecessary. I'd pick 600 for small, damaged prints. AI tools have more to work with, and disk space is cheap.
No scanner? Open PhotoScan on your phone. It takes several shots and stitches them together to remove glare, which matters a lot with glossy prints.
You should now see a sharp, straight digital copy with the whole border visible.
Step 2: Save an untouched master copy
Duplicate the file before you change anything. Name the original something like 1956-wedding-master.jpg and work only on the copy.
This sounds fussy. It isn't, because AI repairs can't be reversed once you've saved over a file, and you'll want the original later for comparison.
Step 3: Repair scratches, tears and stains
Upload the working copy to MyHeritage. If its system spots damage, a Repair button appears; one click runs the default model, called Gentle Repair, and there's an Extensive Repair model for heavier damage. The Photo Repair help article also says the tool never modifies your original and always saves a new copy beside it, which I like a lot.
Prefer typing instructions? Upload the photo in Gemini and paste this:
Repair this old photograph. Remove the scratches, dust spots, creases and the tear in the top left corner. Keep every face, expression, hairstyle and piece of clothing exactly as it is. Don't add or remove people or objects. Keep it black and white.
Tip: name the damage by position ("the crease across the man's shoulder"). Vague prompts seem to invite the model to repaint more than you asked for.
Step 4: Sharpen blurry faces
Faces are usually the softest part of an old print. In MyHeritage, open the repaired copy and run the Photo Enhancer, which sharpens blurry faces and raises the resolution. In Gemini, follow up in the same chat:
Sharpen the faces slightly so the features are clearer. Don't change the shape of the eyes, nose, mouth or jaw. Keep the original film grain in the background.
You should now see clearer eyes and edges. If someone looks like a stranger, go back a step and try a gentler setting.
Step 5: Add or restore colour (optional)
MyHeritage In Color colourises black-and-white photos and restores faded colours in old colour prints. I'd treat the colours as a guess, though. The AI doesn't know your grandmother's dress was green.
Colourise this photo with natural, muted 1950s film colours. The bride's dress is ivory, the groom's suit is dark navy and the flowers are pale pink roses. Keep skin tones realistic and don't change anything else.
If a relative remembers the real colours, put them in the prompt. That's where Gemini beats one-click colouring, in my view.
Step 6: Compare with the original
Open the master and the restored copy side by side and zoom to 100% on each face, hand and piece of text. Check for extra fingers, changed buttons, smoothed-out wrinkles and invented background detail.
Spotted a problem? Redo that step with a stricter prompt, or switch to MyHeritage's Gentle Repair.
Step 7: Export, name and back up the result
Download the full-size image. The Library of Congress guide recommends putting the date first in file names, such as 20100915-wedding.jpg, so files sort in order. I'd add "restored" to the name too, so nobody mistakes it for the original in 30 years.
Keep the master and the restored copy in the same folder, and back both up somewhere other than your laptop.
Example: a complete worked example
Say you've got a 4 x 6 inch wedding portrait from 1956. It has a crease across the groom's shoulder, a coffee stain in one corner and faces that are a bit soft.
- Scan it at 600 dpi and save it as 19560612-wedding-master.jpg.
- Duplicate it as 19560612-wedding-working.jpg.
- Upload the working copy to MyHeritage and click Repair. Gentle Repair should handle a single crease; switch to Extensive Repair if the stain is still there.
- Run the Photo Enhancer on the repaired copy to sharpen the couple's faces.
- Download it, then upload it to Gemini with the colour prompt from Step 5, swapping in the details your family remembers.
- Compare all three versions at 100%. If the bride's veil pattern has changed, ask Gemini to "restore the original lace pattern on the veil from the first image I uploaded" or keep the black-and-white version.
- Save the keeper as 19560612-wedding-restored-colour.jpg next to the master.
That's the whole workflow. Most of the time goes on checking, not clicking.
Common mistakes and how to fix them
Restoring a phone snap of a photo
A quick photo of a print adds glare, blur and a tilted angle, and the AI then "repairs" those too. Rescan it flat, or use PhotoScan's glare removal.
Asking for too much in one prompt
"Fix, sharpen, colourise and upscale" in one go gives the model a lot of room to drift. Do one change per prompt, and you'll know exactly which step went wrong.
Faces that look like someone else
Of all the ways AI photo restoration software can go wrong, I think this one matters most for family pictures. Use a gentler repair setting, add "keep facial features exactly as they are" to your prompt, or skip face enhancement entirely for that photo.
Saving over the original
Once it's gone, it's gone. Go back to Step 2 and make the master copy a habit; it's thirty seconds of work.
Tips to get better results
- Scan negatives or slides if you still have them. They're usually sharper than the prints made from them.
- Crop out torn borders only after repair, so the AI sees the full context.
- Describe real colours from family memory rather than letting the tool pick.
- Run one test photo before a batch of 200. Each tool has its own quirks.
- Keep the grain. A perfectly smooth 1940s photo probably looks more fake than old.
If you're hunting for the best free AI photo restoration, the free tiers are probably all you need for one-off prints. Photo Repair is free for "several photos", after which MyHeritage wants a Complete subscription. Its Photo subscription bundles unlimited Photo Enhancer, In Color and Photo Repair use, which I'd only buy if you're working through a whole family archive.
Photoshop users can try File > Neural Filters > Photo Restoration. Adobe's launch post lists photo enhancement, face enhancement and scratch reduction (off by default), plus noise, halftone and JPEG artifact reduction. It's the best fit if you want to hand-fix what the AI misses with normal Photoshop tools afterwards.
Next steps
Once you've got a clean copy, you might want to print it larger. Our list of AI image enlargers covers upscaling, and the roundup of AI photo retouching tools has more options for heavier editing. If you're building a bigger family project, see our picks for AI family photo tools. It's also worth reading our comparison of AI vs real photos before you share restored pictures, because heavy restoration can drift into made-up detail.
FAQ
How can I restore old photos using AI for free?
Scan the photo at 600 dpi, then upload it to MyHeritage, which repairs several photos for free, or to the Gemini app and ask it to remove scratches while keeping faces unchanged. Compare the result with your original before saving. Free tiers are usually enough for a handful of family pictures.
What's the best free AI photo restoration tool?
For one-click repairs, I'd pick MyHeritage, because it has a gentle mode and never overwrites your original. Gemini is better when you want to describe specific fixes or real colours in words. Neither is perfect, so check faces closely and keep your untouched scan as a backup.
Will AI change the faces in my old photos?
It can. Image restoration AI rebuilds missing detail, and on very blurry or damaged faces it may invent features that weren't there. Use the gentlest setting first, tell prompt-based tools to keep facial features unchanged, and compare at 100% zoom. If a face looks wrong, keep the lightly edited version.
Is it better to scan or photograph old photos?
A flatbed scan is usually better, since the print lies flat, the light's even and there's no glare. If you only have a phone, use an app such as PhotoScan, which stitches several shots together to remove reflections from glossy prints. Either way, clean the print and the glass first, because every speck of dust gets scanned in and the AI may then try to "repair" it into something odd.
Can AI restore a badly torn photo?
Often, yes, if the tear misses the faces. Try MyHeritage's Extensive Repair model first. Where a big piece is missing, the AI's guessing, so treat that part as a reconstruction.